> ## Documentation Index
> Fetch the complete documentation index at: https://docs-v2-staging.qbraid.com/llms.txt
> Use this file to discover all available pages before exploring further.
> ## Agent Instructions
> Prefer the qBraid CLI for programmatic platform actions: pip install 'qbraid-cli>=0.12', then run `qbraid configure` once with an API key from https://account.qbraid.com/account/api-keys.
> Always install the latest packages (pip install -U qbraid qbraid-cli); do not pin versions from memory. qbraid-cli below 0.12.0 is incompatible with the current API.
> Device IDs use the QRN format vendor:provider:type:name (e.g. qbraid:qbraid:sim:qir-sv, rigetti:rigetti:qpu:cepheus-1-108q). Legacy underscore IDs are deprecated.
> The REST API base URL is https://api-v2.qbraid.com/api/v1, authenticated with an X-API-Key header.
> Free simulators cost no credits; QPU and GPU jobs consume credits. Surface the estimated cost to the user before submitting a paid job.
> For account signup, API keys, credits, and end-to-end action recipes, see https://qbraid.com/llms.txt.
# Overview
_AI-powered quantum computing with qBraid_
At qBraid, we believe that the future of quantum computing should be accessible to everyone. Our AI integration embodies this philosophy by removing barriers between researchers, developers, and the powerful quantum resources they need.
qBraid AI serves as your intelligent companion throughout the quantum computing journey:
- **Explore** — Discover quantum devices, compare specifications, and understand pricing without navigating complex documentation.
- **Learn** — Get personalized guidance on quantum concepts, algorithms, and best practices tailored to your experience level.
- **Execute** — Run quantum workflows directly from natural language, from circuit design to job submission and result analysis.
## Getting Started
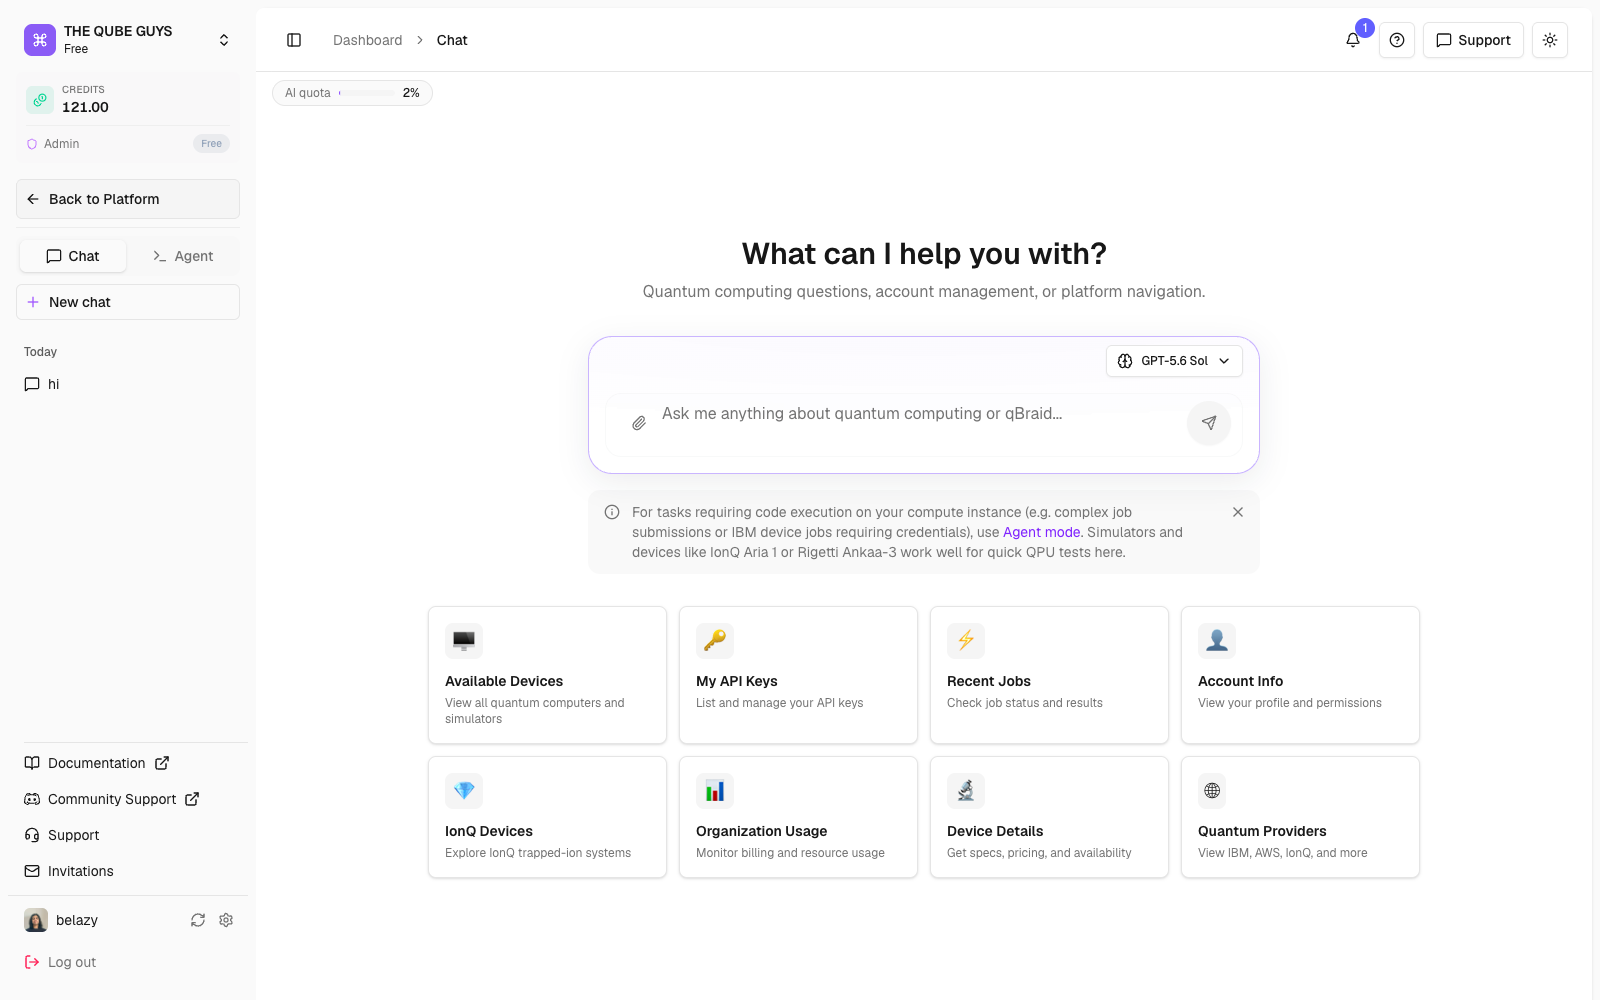
Access qBraid AI directly from qBraid account dashboard:
1. Login to your [qBraid account](https://account.qbraid.com/)
2. Click on the **AI** icon in the left sidebar
3. Start a conversation with your quantum AI assistant
## Key Features
Conversational AI assistant with deep knowledge of quantum computing and
qBraid's ecosystem.
Execute complete quantum workflows through natural language commands.
## Powered by qBraid's MCP Server
Our AI is powered by an in-house [Model Context Protocol (MCP)](https://modelcontextprotocol.io/docs/getting-started/intro) server that provides the underlying model with rich, real-time context about:
- **Quantum Devices** — Live status, specifications, queue depths, and pricing for 20+ QPUs and simulators
- **Quantum Jobs** — Full visibility into your quantum job history, statuses, and results coupled with job execution capabilities
- **qBraid Learning** - Access to qBraid courses, tutorials, and documentation
- **qBraid Ecosystem** — Deep knowledge of environments, SDKs, and platform capabilities
This architecture ensures that every response is grounded in accurate, up-to-date information rather than stale training data.
New to qBraid? Check out our [Getting
Started](https://docs-v2-staging.qbraid.com/v2/lab/user-guide/getting-started) guide to launch your first Lab
instance.